Receipe of Manually Creating and Configuring a Virtual Machine with Virtual Box in Ubuntu
In this tutorial I have demonstrated the creation of a virtual machine with virtual box in Ubuntu 20.04. But the same recipe will hold true for any other Ubuntu version.
This vm has been created to run PacketRusher to simulate a telecom network with Magma Core. But you can modify according to your purpose.
First you need to install virtual box. Next you need to install an iso image of the operating system which you want to use in the VM.
Now, you need to configure the initial setups for the creation of a virtual machine.
Click New to start the creation.
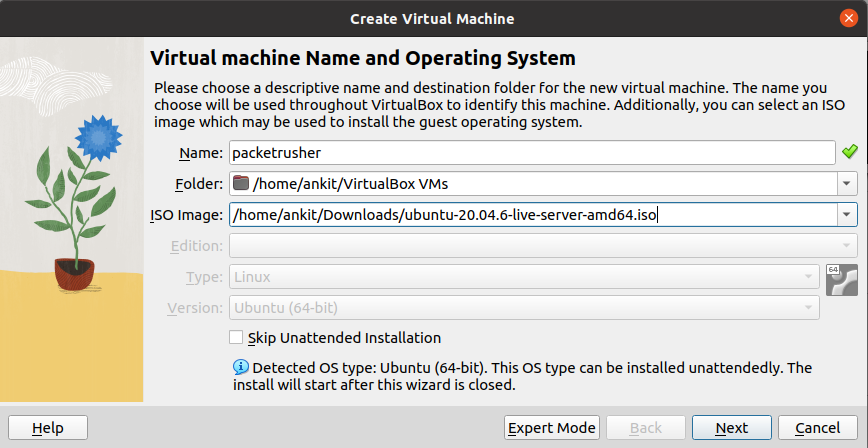
Click next, here we will not be going forward with expert mode.
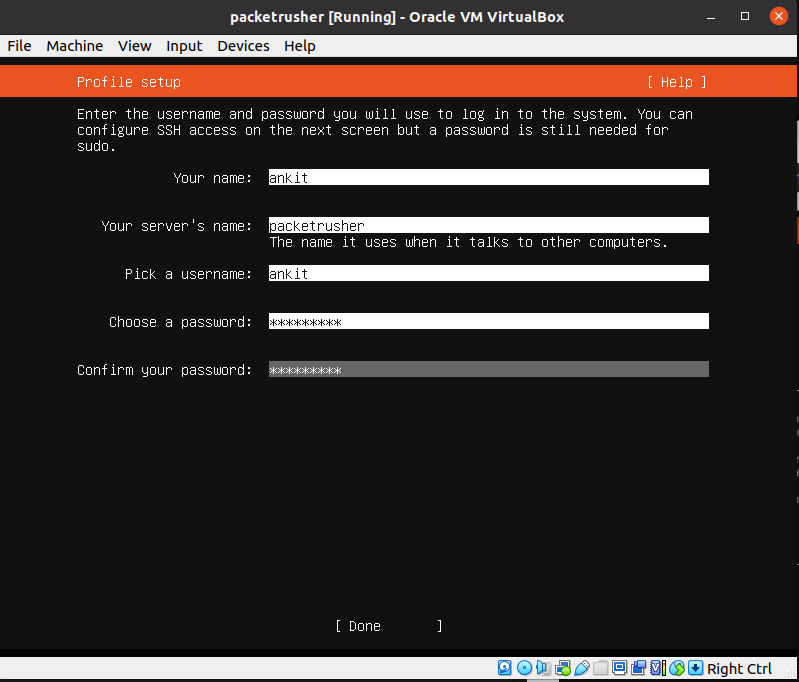
Enter your username and passwork. Click Next

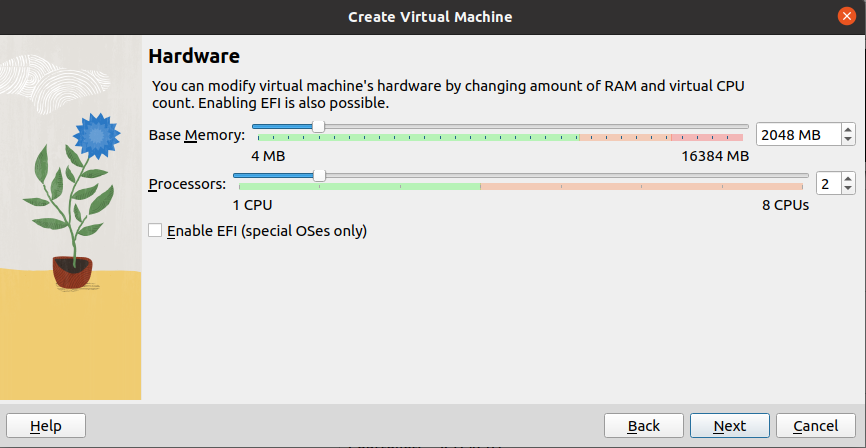
Select the amount of memeory and the no. of processors you want to allot. Click Next.
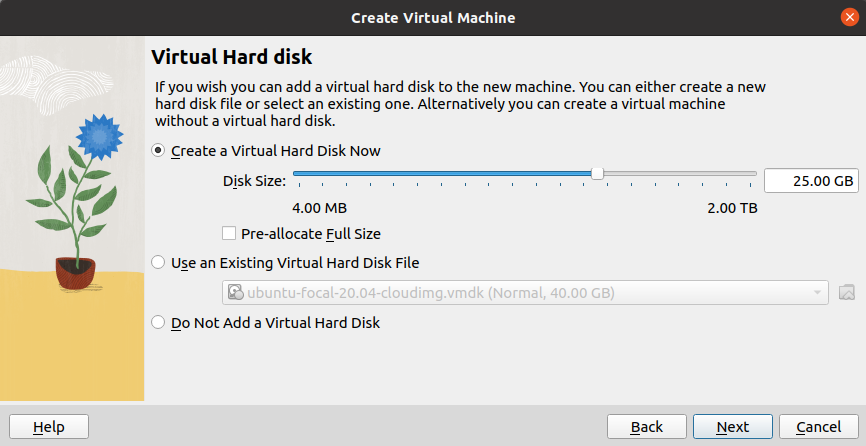
Check the summary and click Finish. The virtual machine will be created.
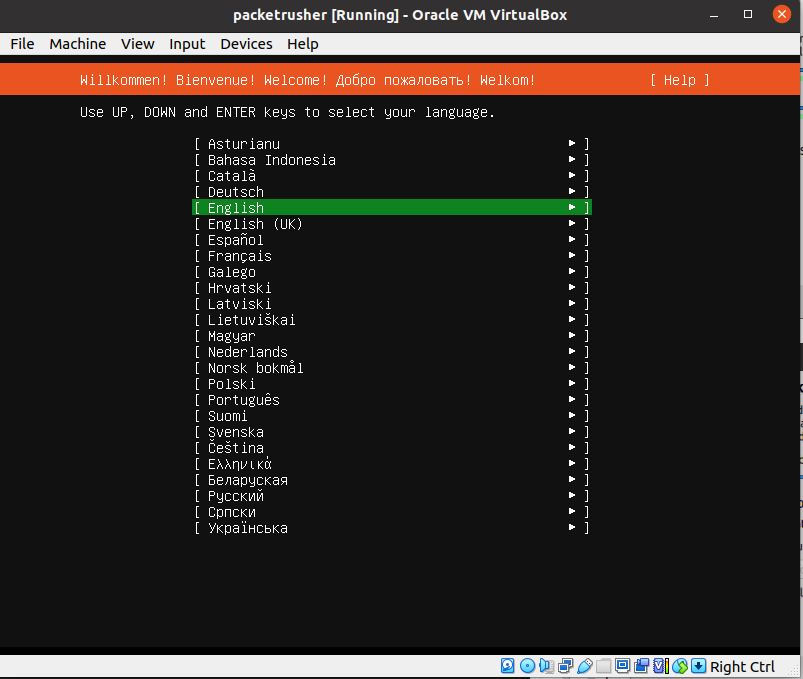
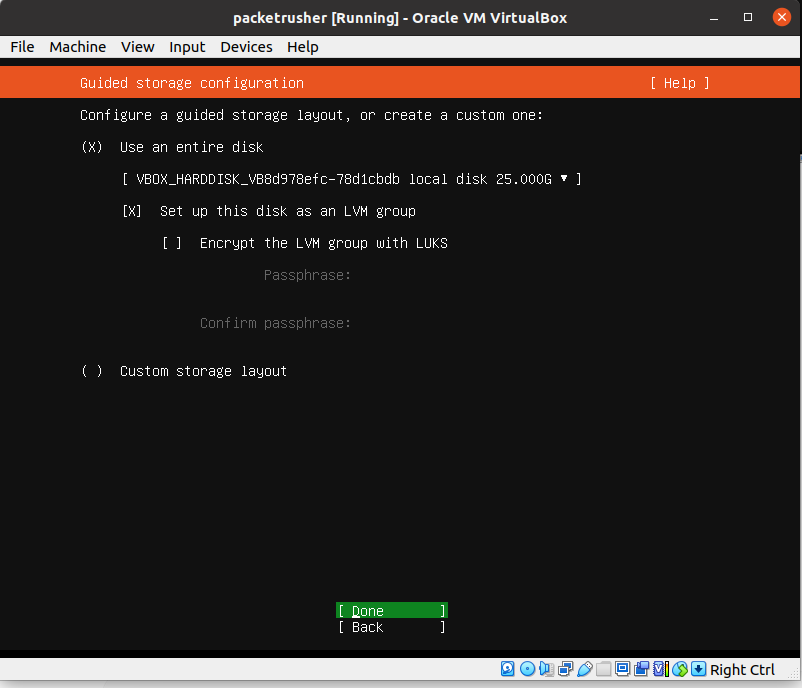
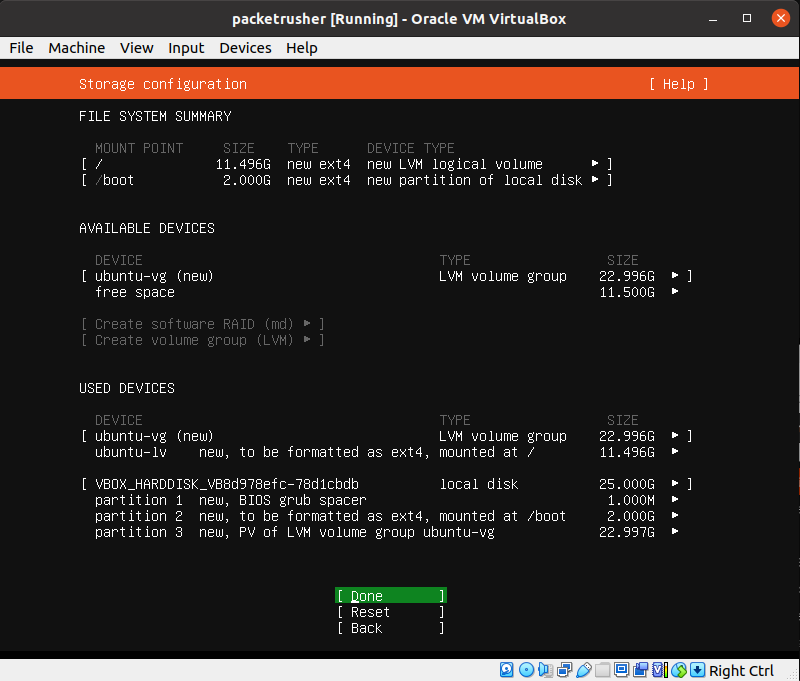
Choose your language. Press Enter to select and move to next step.
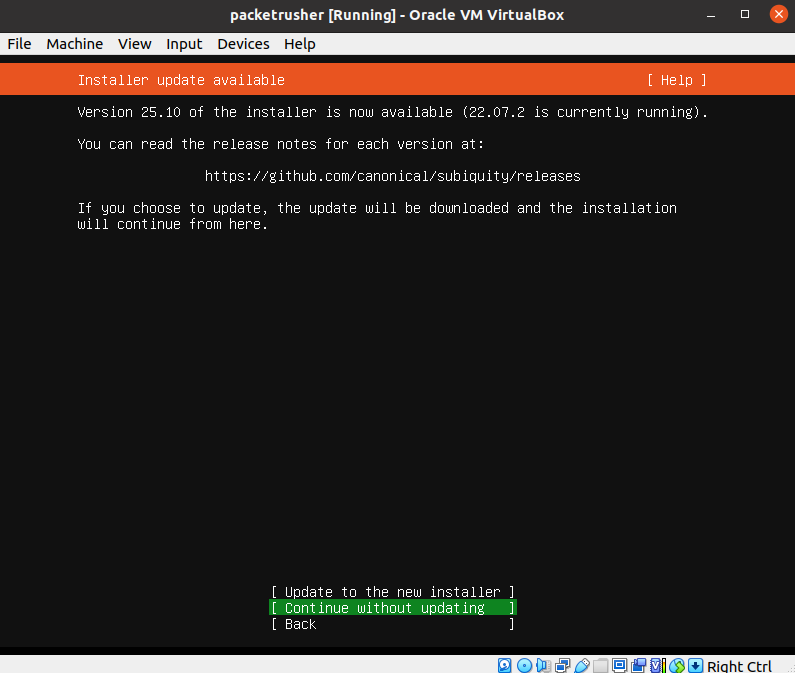
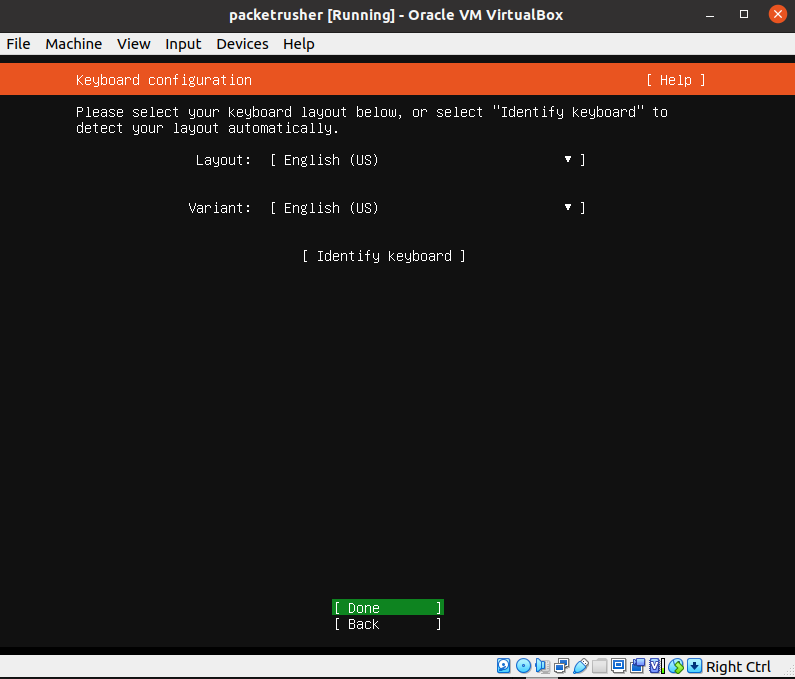
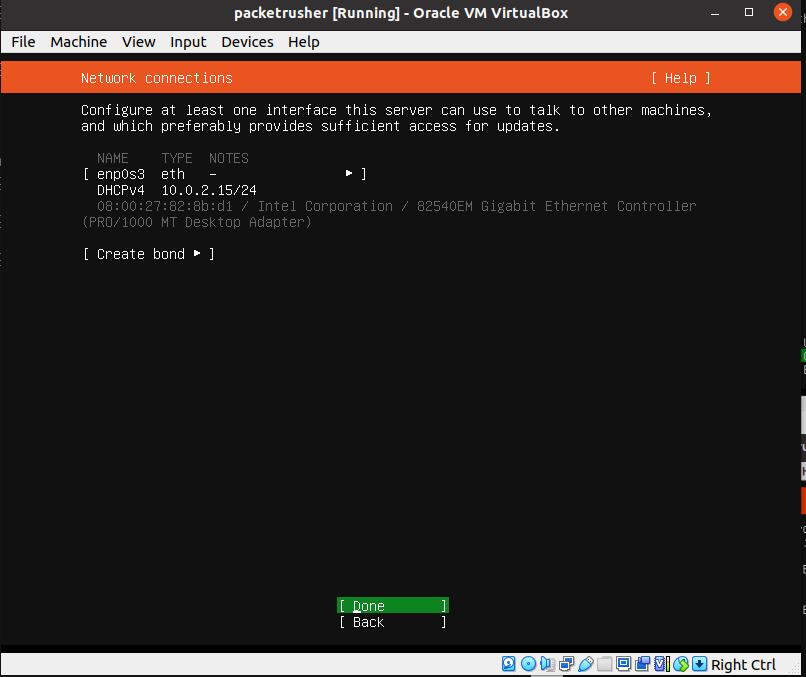
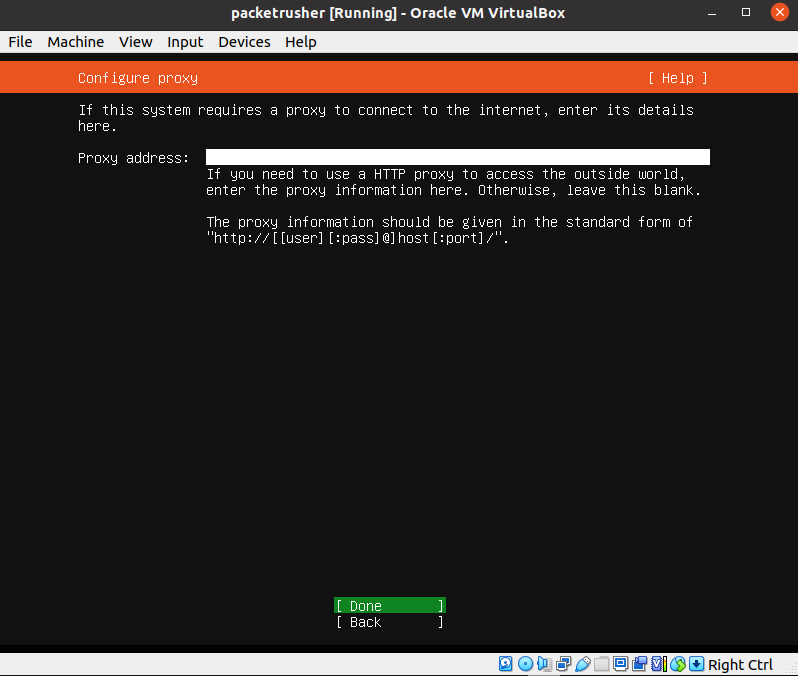
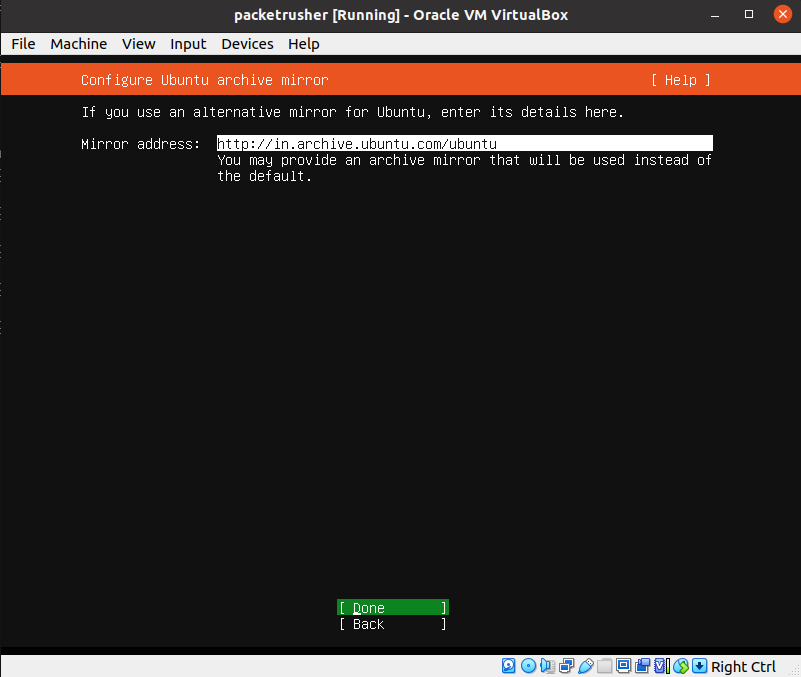
Press tab until you reach Done. Click Enter.
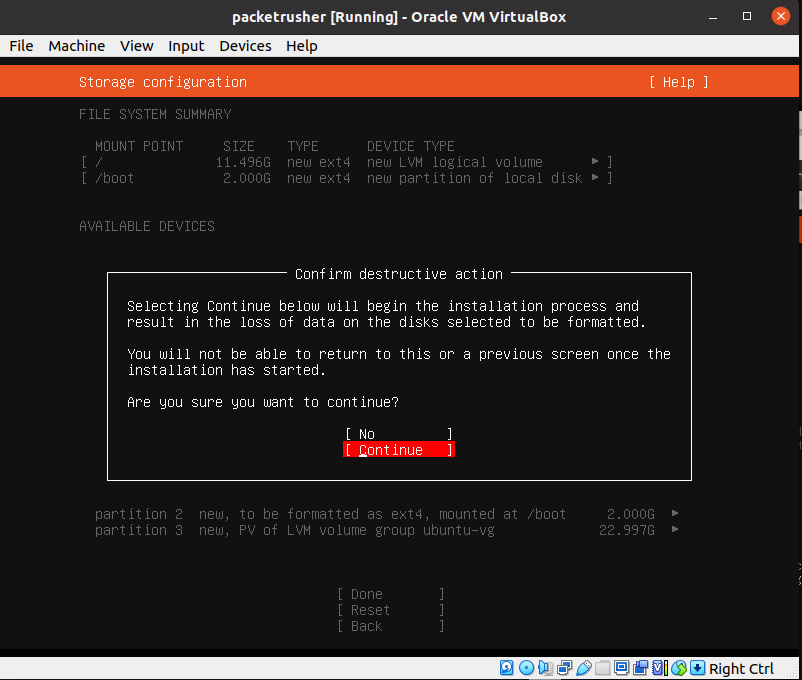
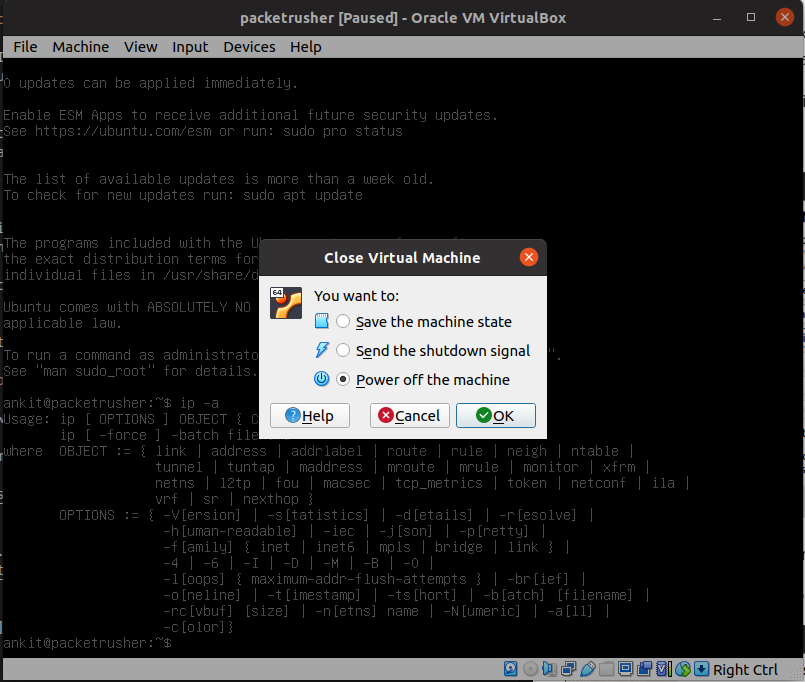
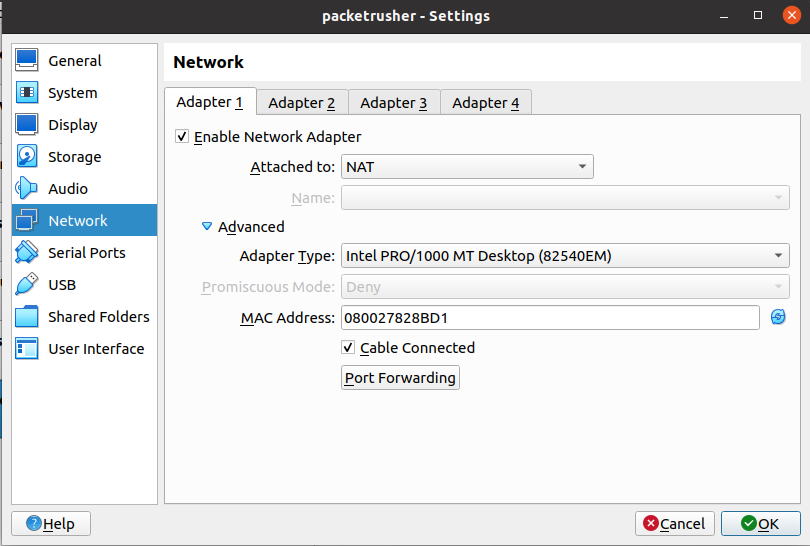
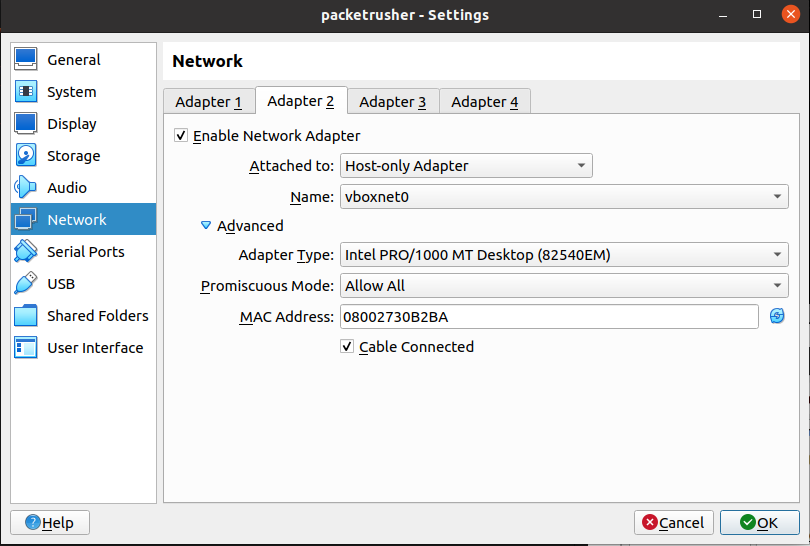
Power OFF vm and setup the networking of the vm.
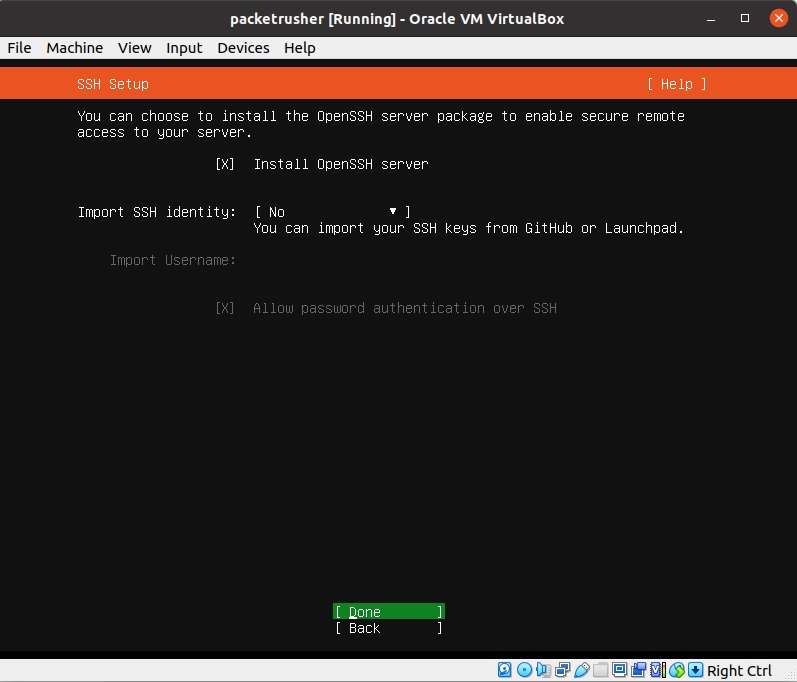
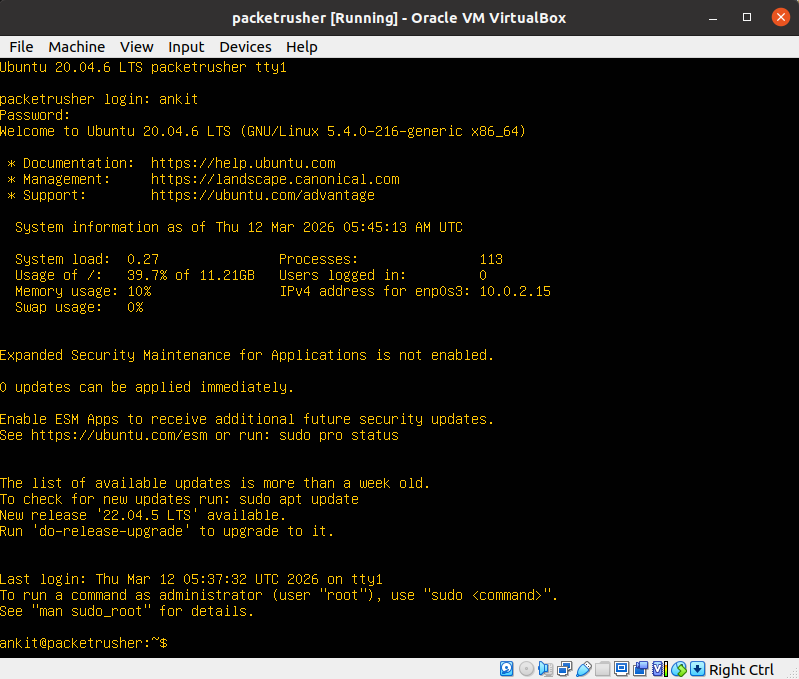
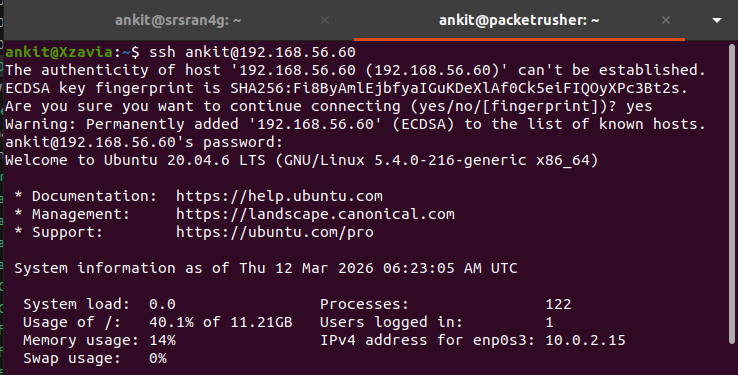
Turn on the vm and next we configure ssh to be able to access it remotely from terminal with a lot of freedom.
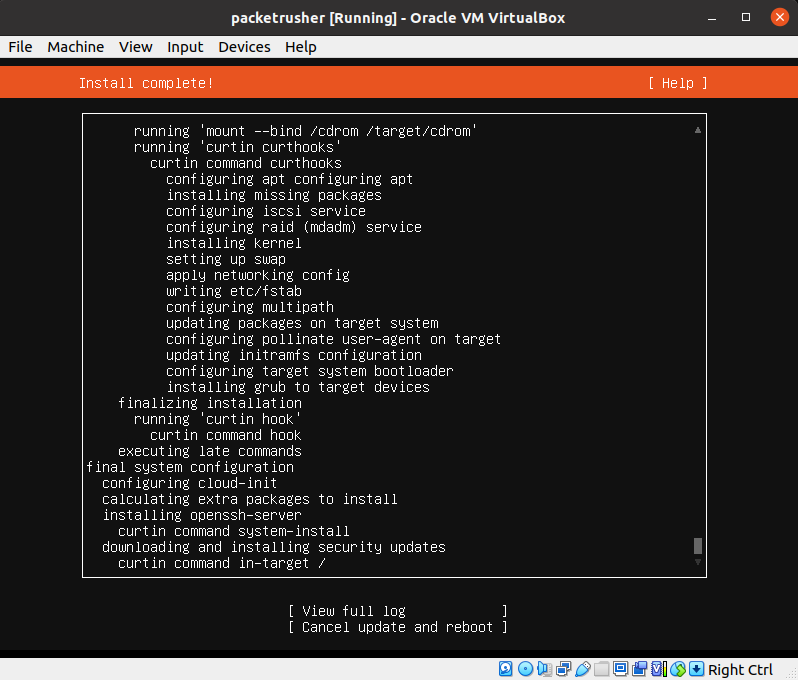
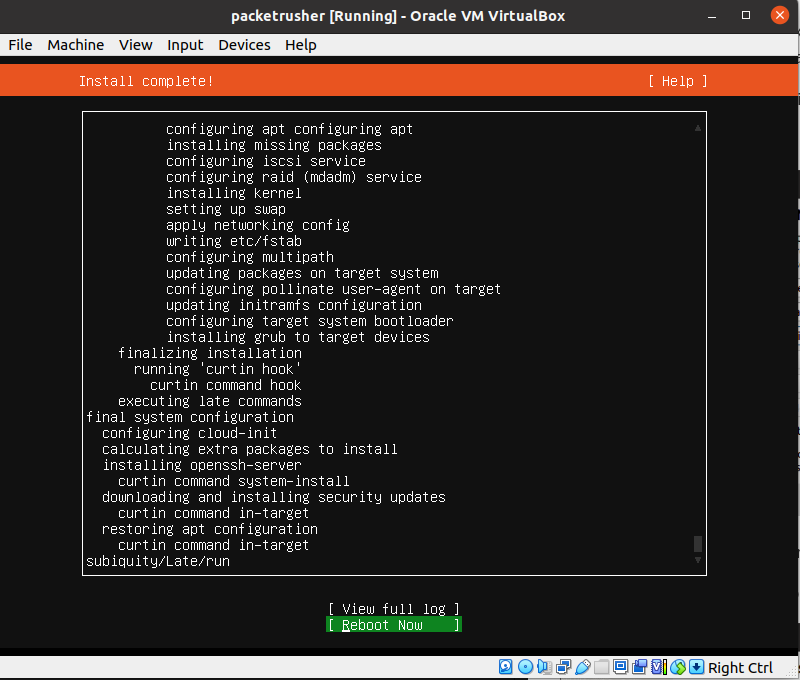
If all the steps are alright then the visual will be similar to below when you login into your vm.
Following promts to configure ssh:

sudo apt update && sudo apt upgrade -y
sudo apt install -y openssh-server curl wget git

Next we have to configure IP address for the vm:

sudo nano /etc/netplan/00-installer-config.yaml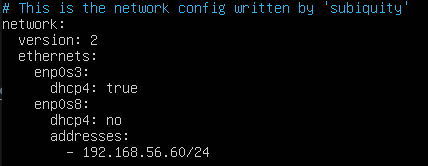
To Save: cltr+shift+o -> press Enter -> cltr+X
To apply the configurations:
sudo netplan apply
Ping is success from another vm. IP configuration a sucsess!
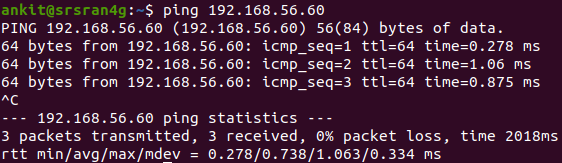
You can ping from host too, to check if ip is alright.
Next ssh into the vm from terminal:
ssh username@ip-address
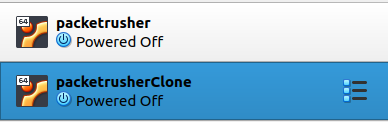
You can clone your VM too, it will save a lot of time when trying to create another vm.
I go on to do a full clone. You can choose according to your purpose. Keep in mind to chnage ip address of cloned machine to avoid conflicts.